Last updated: November 14, 2026
Quick Answer: Measure the rough opening, drain center, width, depth, lip height, and corner fit before you buy a shower pan. In many installs, a 34-inch opening will not fit a 33 3/4-inch pan, and a drain that is only a little off can stop the pan from seating flat. If those numbers do not match the pan’s spec sheet, the pan is the wrong one. This guide explains how to measure a shower pan before buying one so you can match the framed space, the drain, and the threshold. The steps below settle which measurements matter, how to take them, and where people usually get tripped up.
Our Top 3 Picks at a Glance
- #1 Best Overall: A shower pan that matches the rough opening, drain center, and threshold height without forcing the stud wall or corner fit.
- #2 Best Budget Pick: A standard-size pan that fits the opening with plain corners and a simple drain layout.
- #3 Best Heavy-Duty / Upgrade Pick: A pan with extra lip height, a stronger base, or a layout that handles a tighter corner fit.
The measurements that matter before you buy
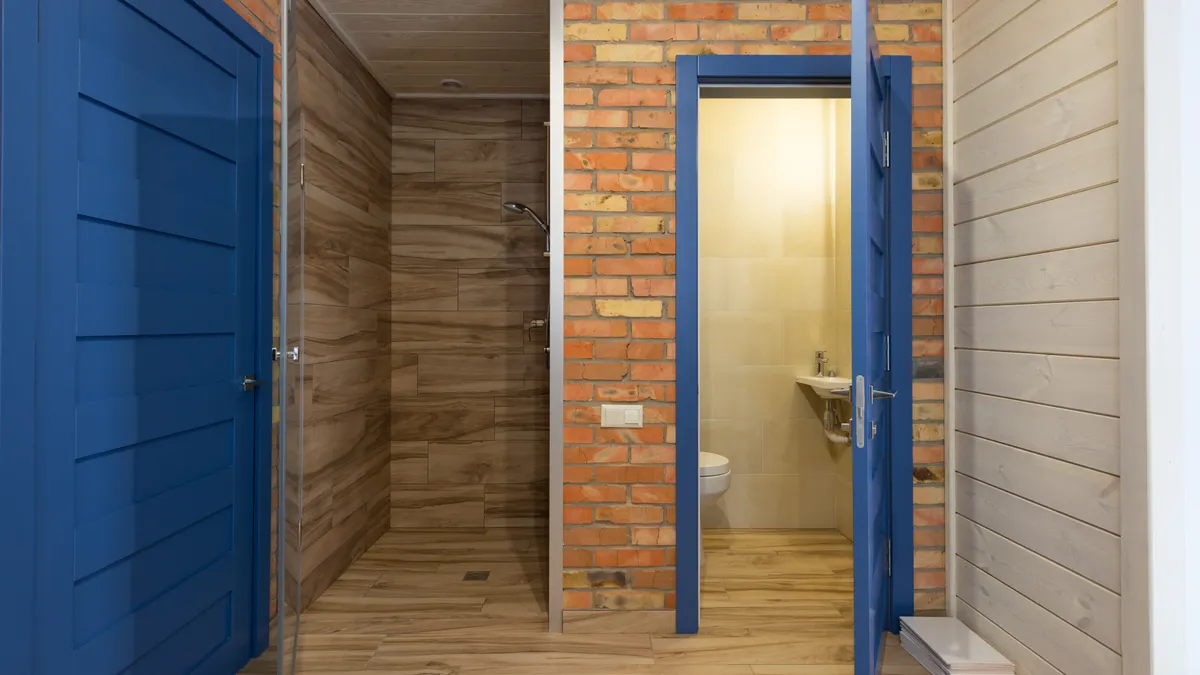
Measure the rough opening, drain center, and threshold height first. Those three numbers decide whether the pan fits the framed shower space.
Picture this: you’re standing in front of an open shower space with a tape measure in one hand and a drain hole in the floor that does not look centered. You need three numbers before you order anything: the rough opening, the drain center, and the height you can work with at the threshold.
People often measure the finished wall space and stop there. That misses the stud wall, the drain location, and the lip height that can make a pan unusable even when the width looks right.
Use this quick checklist first:
- Rough opening: inside edge to inside edge, wall to wall
- Drain center: from the nearest wall to the drain center line
- Threshold height: from the subfloor to the top edge where the pan sits
- Corner fit: square corners, rounded corners, or a curb shape that changes the footprint
- Lip height: the vertical flange that meets the wall
If one of those is off by even a little, the pan may leave a gap, hit a pipe, or sit too high at the threshold.
How do you measure a shower pan opening?
You measure a shower pan opening by taking the rough opening at the floor, not the finished wall size. A shower pan is sized to fit inside the framed area, so the number that matters is what the pan can actually sit inside.
Picture this: you’re crouched at the base of the shower frame, reading a tape from one stud wall to the opposite wall. The drywall or tile is not the measurement that decides fit; the framing is.
Measure the opening in this order
- Tape measure the width at the floor from stud to stud.
- Tape measure the depth from the back wall to the curb line or front edge.
- Tape measure again at the top of the opening if the walls are not perfectly square.
- Record the smallest width and depth, not the biggest.
- Compare those numbers to the pan’s required rough opening.
That last step matters because many openings are slightly out of square. A pan that fits one corner may bind at the other. Big mistake.
If the opening narrows near the bottom, the pan has to fit the smallest point, not the prettiest one. A pan that needs a 34-inch opening will not fit a 33 3/4-inch space.
What to look for on the spec sheet
- Rough opening width
- Rough opening depth
- Minimum clearance at each wall
- Threshold or curb width
- Corner shape and flange style
If the pan maker lists the rough opening as a range, use the lower end as your real number. That keeps you out of trouble when the framing shifts.
How do you measure the drain center?
You measure the drain center by finding the exact line from the wall to the middle of the drain opening. That line has to match the pan’s drain location, or the trap and waste line will fight the pan.
Picture this: you’re on the floor with the drain pipe open and the wall still bare. The hole looks close enough by eye, but “close enough” is how people end up returning a pan after the tile is already staged.
Use this simple drain check
- Tape measure from the back wall to the center of the drain opening.
- Tape measure from the side wall to the center of the drain opening.
- Mark both lines on the subfloor.
- Compare those marks to the pan’s drain center drawing.
- Confirm the drain opening lands where the pan expects it.
If the drain is even a little off, the pan may not seat flat. That can force the waste pipe to bend too sharply or leave the drain assembly under stress.
A center drain is easier to match than an offset drain, but the same rule holds: the pan has to line up with the pipe, not your best guess. The pipe location is the boss.
Common drain mistakes
- Measuring from drywall instead of the stud wall
- Measuring to the edge of the drain instead of the center
- Forgetting the pipe takes up room under the pan
- Ignoring a drain that sits closer to one wall than the other
If the drain is already set and the pan is not, do not assume an adapter will save you. Some layouts leave too little room for the drain body and trap stack. That is where a contractor often spots the mismatch before anything gets ordered.
What width, depth, and threshold numbers should you record?
You should record the width, depth, and threshold height in inches before buying, because those three numbers tell you whether the pan will fit the opening and sit at the right level. A pan can be the right width and still fail because the threshold is too tall or the depth is wrong.
Picture this: you’re measuring a shower opening that looks square until the tape hits the front edge. The front is narrow, the back is wide, and the curb line changes the usable depth.
Record these numbers separately
- Width: left wall to right wall at the narrowest point
- Depth: back wall to front edge or curb line
- Threshold height: subfloor to the top of the curb or pan edge
- Lip height: how far the flange rises on the wall side
- Corner fit: straight, curved, or notched corners
The threshold matters because the pan has to sit low enough to leave room for the finished wall and any door or enclosure. A pan that sits too high can throw off the whole shower entry.
The lip height matters because it ties into wall waterproofing. If the lip is taller or shaped differently than expected, the wall board may not land cleanly. That is not a cosmetic problem. It is a fit problem.
Watch for these shape issues
- One wall is bowed
- The corner is not square
- The front edge flares out
- The curb is not centered
- The drain zone steals space from the foot area
If the opening is small, a corner fit mistake can matter more than the pan’s advertised size. A pan listed as “standard” may still have corners that catch on framing or a flange that needs extra room. Standard does not mean universal.
How do you check corner fit and wall framing?
You check corner fit and wall framing by comparing the pan’s footprint to the actual shape of the framed shower, not the room around it. Corners are where a shower pan stops being a simple rectangle and starts becoming a match problem.
Picture this: you’re looking down at a framed alcove where one corner is tight and the other is a little open. That tiny difference can change whether the pan drops in cleanly or needs the framing adjusted.
Inspect the corners before you buy
- Square the opening with a framing square or a tape check corner to corner.
- Measure both diagonals of the opening.
- Compare the diagonal lengths; if they differ, the opening is out of square.
- Check for studs that lean into the opening.
- Confirm the pan’s corner style matches the space.
If the diagonals differ, the opening is not truly square. That does not always kill the job, but it does mean you need more room for adjustment.
A pan with a molded corner can be less forgiving than a simpler rectangle. On the flip side, a plain pan may leave more room for wall finishing but give up some built-in support around the edges.
What bad framing can do
- Pinch the pan at one corner
- Leave a gap at the wall
- Push the drain off line
- Force the lip to bow
- Make the threshold sit unevenly
That is why the framing check belongs before the purchase, not after the delivery truck shows up.
What is the fastest way to avoid ordering the wrong pan?
The fastest way to avoid ordering the wrong pan is to write down the rough opening, drain center, threshold height, and corner shape on one page before you shop. One missing number is enough to wreck the fit.
Picture this: you’re comparing two pans that look almost identical online. One has the right width, but the drain center is off by a few inches. The other fits the drain but needs a taller threshold than your opening allows.
Use this buying checklist
- Rough opening width
- Rough opening depth
- Drain center from both walls
- Threshold height
- Lip height
- Corner fit
- Any odd framing at the stud wall
If you have the shower pan spec sheet in front of you, compare each line one by one. Do not rely on the product name alone. A “60 x 30” pan can still have different drain placement, curb height, or wall flange shape.
Once those numbers are written down, shopping becomes much less fuzzy. You are not guessing at style. You are matching hard dimensions.
What to bring to the store or contractor
- A sketch of the opening
- Your measurements in inches
- The drain center mark
- A photo of the framed space
- Notes on any corner or threshold problem
That simple packet saves time. It also gives a contractor or sales rep the facts they need to spot a mismatch before money changes hands.
When should you stop and recheck before buying?
You should stop and recheck before buying if the pan looks close but not exact, because “close” is not the same as fit. A shower pan leaves very little room for error once the walls and drain are set.
Picture this: you’re tempted to order because the pan is almost the right size. The opening is 34 inches, the pan is 34 inches, and the drain is “near” the right spot. Near is not enough.
Recheck if any of these are true
- The opening is out of square
- The drain center is not a clean match
- The threshold height is tight
- The lip height conflicts with the wall build-up
- The corner shape is unusual
If one of those is off, do not force the purchase. A pan that “mostly fits” often creates extra labor, extra trim work, or a return that eats time.
For broader planning on shower pan installation and replacement, the hub page for this topic can help connect the sizing step to the rest of the project. This page stays on measurement; that is where the money is saved.
Key Takeaways
- Measure the rough opening, not the finished wall size.
- Match the drain center to the pipe location, not just the room layout.
- Record width, depth, threshold height, lip height, and corner fit before you shop.
- Use the smallest measurement in an out-of-square opening.
- Stop and recheck if the pan is only a near match.
What measurements do you need for a shower pan?
You need the rough opening, drain center, width, depth, threshold height, lip height, and corner fit. Those numbers tell you whether the pan will sit in the framed space and line up with the drain. If one of them is missing, the risk of ordering the wrong size goes up fast.
How do you measure a shower pan opening?
You measure a shower pan opening from stud to stud at the floor, then check the depth and the diagonals. The smallest width and depth are the numbers that matter. That tells you the real rough opening, not the finished look of the walls.
Do shower pans need exact measurements?
Yes, shower pans need measurements that are close enough to match the manufacturer’s required opening and drain layout. A little wiggle room may exist in framing, but the pan itself is not forgiving. If the drain center or threshold is off, the fit can fail even when the width looks right.
Drafted with AI; not yet reviewed by a person.

2 thoughts on “How to Measure a Shower Pan Before Buying One”