Last updated: November 14, 2026
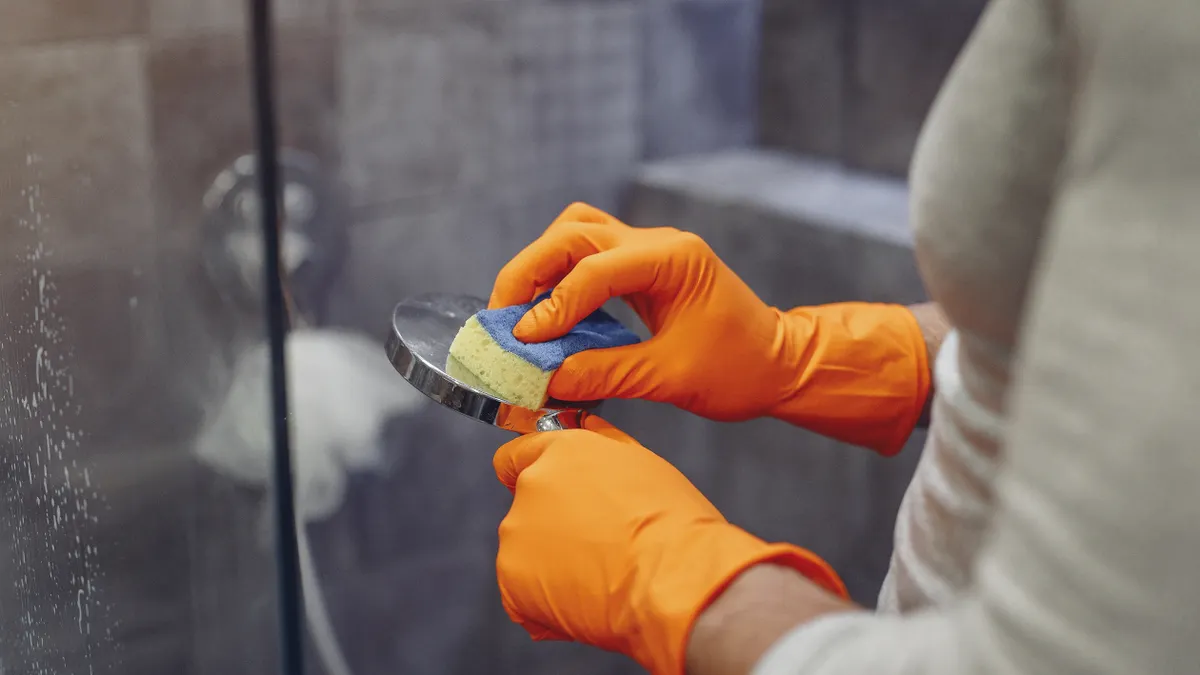
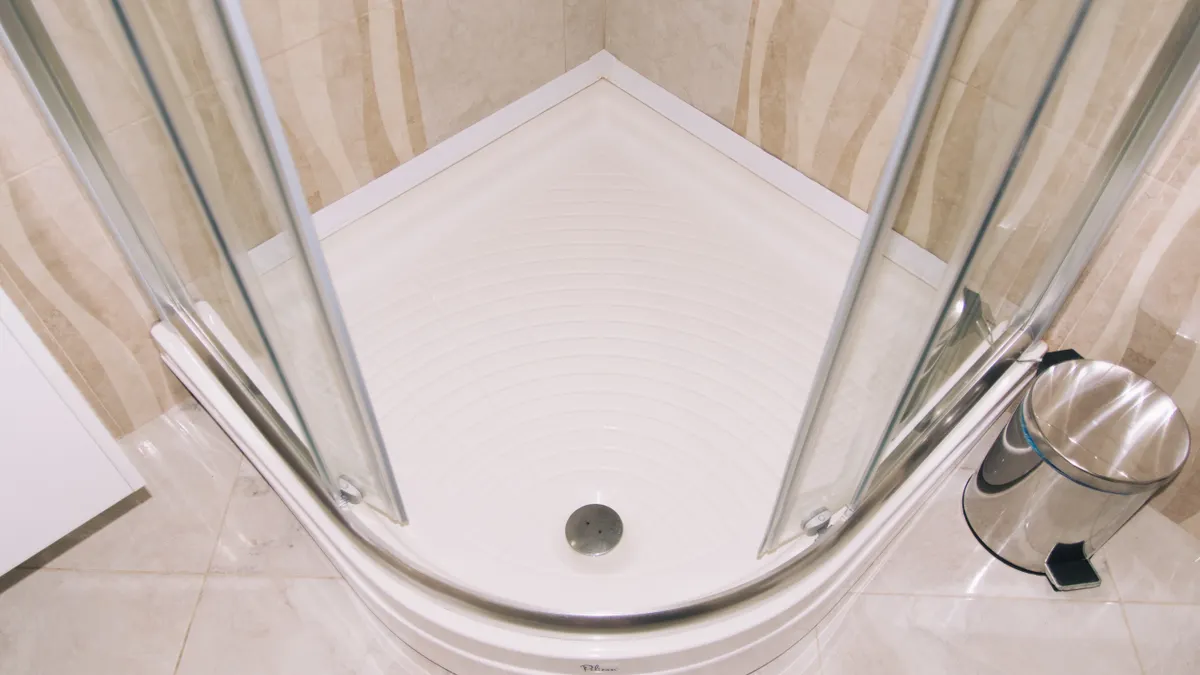
Quick Answer: Use a mild cleaner, a nonabrasive sponge, and a microfiber cloth, and give the cleaner 5 to 10 minutes to work before wiping. A dirty shower pan is annoying, and the wrong cleaner can dull the shower pan finish fast. Use a mild cleaner, a nonabrasive sponge, and a microfiber cloth—that’s the safer path for how to clean a shower pan without damaging the finish. The steps below settle what to use, what to skip, and how to clean soap scum without scratching the surface.
The safest way to clean a shower pan finish
Picture this: you’re standing in the shower with soap scum on the floor, and you want it gone without turning the surface cloudy. One of the safer methods is a 5-to-10-minute soak with a mild cleaner, a soft wipe, and a clean rinse.
Before you start, the least aggressive tool that will do the job should come first. Big mistake to do anything harsher first.
- Rinse the shower pan with warm water so loose grit leaves the surface before you touch it.
- Spray or wipe on a mild cleaner and let it sit for 5 to 10 minutes so it can loosen soap film.
- Wipe with a nonabrasive sponge in light, straight passes rather than tight circles.
- Rinse the pan well so cleaner residue does not dry on the finish.
- Dry with a microfiber cloth to cut water spots and keep grime from sticking again.
That sequence works because the cleaner does the lifting, not the pad. The finish stays safer when you avoid pressure, grit, and anything that can scratch or etch. If the pan still looks cloudy after one pass, repeat the soak rather than scrubbing harder.
Because of that, a smart reader also checks the finish type. Acrylic, fiberglass, and coated pans can all look fine after one careless cleaning, then show dull patches later. The damage often starts small.
Key Takeaways
- Use gentle cleaner first, not muscle.
- Let product sit before wiping.
- Soft tools protect the top layer.
- Drying matters as much as washing.
- If grime stays put, repeat the soak instead of reaching for abrasives.
What can you use on a shower pan without scratching it?
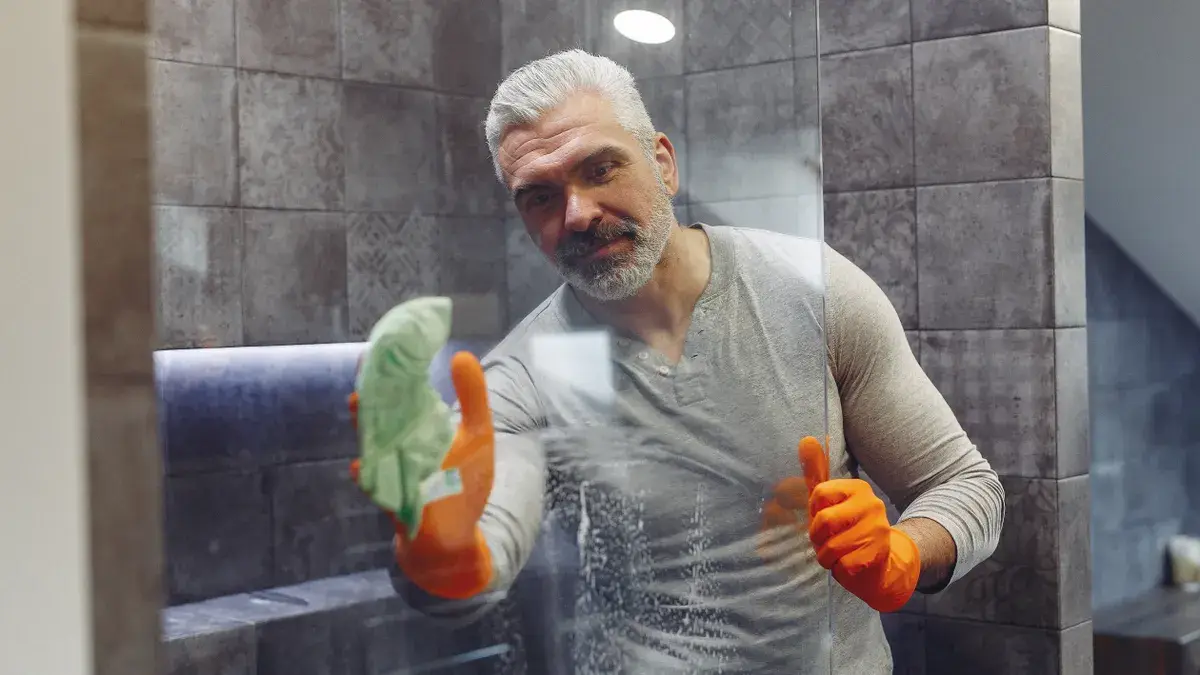
You can use mild dish soap, a pH-neutral cleaner, warm water, a soft sponge, and microfiber cloths on most shower pan finishes. That combination handles daily dirt and light soap scum without the grind that damages glossy coatings.
The truth is, most finish problems come from the tool, not the liquid. A cleaner can be safe on paper and still cause trouble if you pair it with a scrub pad, steel wool, or a stiff brush.
Good choices usually include:
- Mild dish soap mixed with warm water
- A pH-neutral bathroom cleaner
- A nonabrasive sponge
- Microfiber cloths for drying and buffing
- A soft nylon brush only for textured spots, used lightly
If the pan is stained but not damaged, start with the mildest option and work up only as far as needed. A 10-minute soak often beats a hard scrub. The surface gets cleaner with less wear.
In contrast, some labels sound safe but are still too aggressive for delicate finishes. Anything that advertises heavy polishing, scrubbing power, or shine restoration deserves caution unless the pan maker says it is finish-safe. If a product is meant for rough mineral buildup on tile, it may be too harsh for a shower pan coating.
For care that fits the rest of the system, the hub on shower pan maintenance and troubleshooting can help you keep the whole surface in better shape over time.
What should you not use on a shower pan?
You should not use abrasive powders, steel wool, melamine pads, bleach-heavy mixes, or anything with strong acid unless the pan maker specifically says it is safe. Those products can haze the finish, leave tiny scratches, or strip a coating.
Here’s the catch: damage is often cumulative. One harsh scrub may not ruin a pan in a day, but repeated use can make the finish look tired long before its time.
Avoid these common culprits:
- Abrasive powders that scour the top layer
- Steel wool and metal pads
- Melamine foam used with pressure on glossy finishes
- Drain opener splashes, which can etch or discolor
- Strong acid cleaners on coated or acrylic pans
- Bleach concentrates mixed too strong or left sitting
A lot of people reach for baking soda as a “gentle” fix. It can still act like a fine abrasive if you rub it hard, especially on glossy or polished surfaces. Use it only if the finish guidance allows it, and keep the pressure light.
The cost of the wrong tool is not just scratches. A dull finish traps dirt faster, so the pan looks dirty again sooner. Once the surface loses its sheen, cleaning takes more work and more risk.
If you are unsure, stop at warm water, mild soap, and a soft cloth. That routine may feel plain, but plain is often what protects the finish.
How do you remove soap scum without hurting the finish?
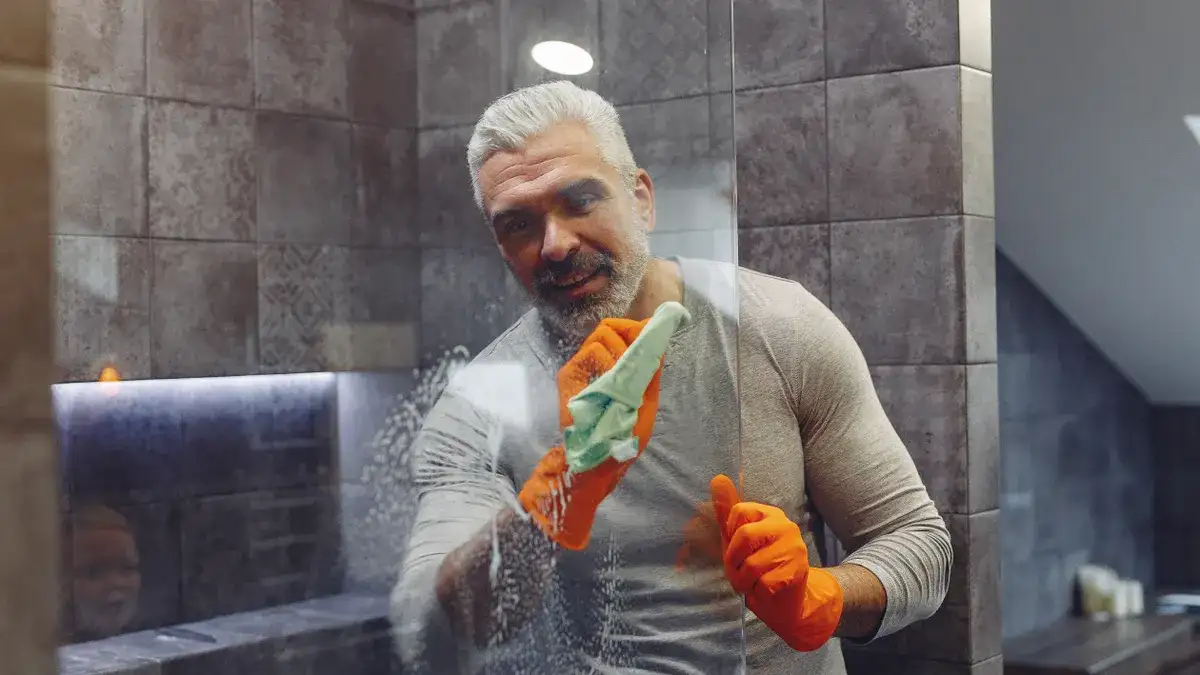
You remove soap scum safely by softening it first, then wiping it away with a nonabrasive sponge instead of grinding at it dry. That method is kinder to the finish and usually works better than force.
Picture this: the pan looks clean at a glance, but a dull film comes back the moment the light hits it. That film is often soap scum, and it sticks hardest where body oils and hard-water residue meet.
Use this approach:
- Spray the area with warm water first.
- Apply a mild cleaner and leave it for 5 to 10 minutes.
- Wipe once with a damp sponge, using light pressure.
- Rinse and inspect under side light.
- Repeat the soak if needed rather than scrubbing harder.
If the scum sits in corners or along texture lines, fold a microfiber cloth around your finger and work that edge gently into the groove. A rough pad can tear at the finish where buildup is thickest.
A clean, dry surface also matters after the soap scum is gone. Residue left behind can turn sticky and catch more film the next time water dries. Drying with a microfiber cloth takes less than a minute and pays off fast.
One more thing: don’t chase a perfect shine with a polishing product unless the finish instructions say yes. Some coatings want regular gentle cleaning, not shine restoration.
How do you clean stains without stripping the coating?
You clean stains on a shower pan by treating the stain type first and keeping the product on the surface only as long as needed. If you are unsure what caused the mark, consult the pan manufacturer or a professional before using a stronger cleaner, because the wrong product can strip the coating. That protects the coating while still giving the spot a chance to lift.
Not all stains behave the same. Rust, hard-water marks, body oils, and dye transfer each ask for a different touch, and a single harsh cleaner can make one stain better while ruining the finish around it.
Use this rule:
- For light grime, mild soap and warm water are enough.
- For water marks, try a longer soak with a pH-neutral cleaner.
- For organic stains, use a finish-safe bathroom cleaner and a soft cloth.
- For unknown stains, test on a small hidden area first if the pan has one.
If a stain does not respond after a couple of gentle passes, stop. That is the point where people usually overdo it. A stronger cleaner can leave a clean spot with a visibly different sheen, which is worse than the original stain in many bathrooms.
A microfiber cloth can help remove the last film without adding scratches. Fold it into quarters, use one clean side at a time, and keep the motion light. That gives you more control than a sponge on a stubborn mark.
If the stain is actually damage—an etched patch, a chip, or a rough spot—cleaning will not make the finish look new. This page is for maintenance, not repair.
Routine cleaning that keeps the finish looking new longer
You keep a shower pan looking good by cleaning it lightly after use and doing a fuller wash about once a week. That simple rhythm can prevent buildup from turning into a scrubbing job, though if buildup is already heavy, consult the manufacturer or a professional for a safer reset.
Picture this: the pan dries after every shower, and there’s nothing thick enough to grip. That is the goal. It is easier to prevent buildup than to remove it later without wear.
A practical routine looks like this:
- After showers: rinse visible soap off with warm water.
- Once a week: wash with mild cleaner and a nonabrasive sponge.
- After cleaning: dry with a microfiber cloth.
- If the room is damp: leave the door or curtain open so moisture clears faster.
The routine matters because standing water leaves mineral rings and soap film behind. Those marks often become the next cleaning problem. Drying is not extra work; it is part of preserving the surface.
If your pan has a textured finish for slip resistance, pay attention to the low spots. Dirt settles there first. A soft cloth wrapped over your hand can reach those spots better than a flat sponge, and it still stays gentle.
One honest limitation: if you let buildup sit for months, normal cleaning may only improve the look, not erase every mark. That is not a reason to scrub harder. It is a sign to switch to a slower, safer approach and keep after it regularly.
When should you stop and check the finish instead of scrubbing?
You should stop and inspect the shower pan finish when the surface turns dull, feels rough, or changes color in patches after cleaning. Those are signs that the cleaner or tool may be too aggressive for the coating.
A shiny finish can hide damage at first. Then one day the light catches a hazy band, and you realize the surface no longer reflects evenly. That is the warning.
Watch for these signs:
- Dull spots where the shine used to be
- Fine scratch marks after cleaning
- Color change around the cleaned area
- A rough feel even after rinsing
- Cleaner residue that will not rinse away
If you see any of those, stop using abrasive tools and switch back to a mild cleaner with a soft cloth. If the finish has already been marked, more scrubbing usually makes the patch stand out more, not less.
A useful habit is to clean one small section first when trying a new product. A small test area gives you a clue before you do the whole pan. That is especially smart on coated or glossy surfaces.
The verdict is more cautious than absolute: the safest cleaning method is the one that removes grime without changing how the finish looks or feels. If a product cleans fast but leaves the pan dull, it is the wrong product for this job.
What should you not use on a shower pan?
You should not use abrasive pads, steel wool, or harsh chemical cleaners on a shower pan finish. Those tools can scratch, haze, or weaken coatings, especially on glossy acrylic or fiberglass pans.
The safer route is a mild cleaner, warm water, and a nonabrasive sponge. If a stain needs more than that, try a longer soak before you try more pressure. A finish that stays smooth will also stay easier to clean next time.
How do you remove stains from a shower pan?
You remove stains by matching the cleaner to the stain and working gently, not by scrubbing hard. Start with mild soap or a pH-neutral bathroom cleaner and give it 5 to 10 minutes to work before wiping.
If the stain stays put, repeat the soak or test a finish-safe cleaner in a small area first. If the mark still remains after gentle cleaning, it may be embedded damage rather than a removable stain.
Can harsh cleaners damage a shower pan?
Yes, harsh cleaners can damage a shower pan finish. Strong acids, heavy bleach mixes, and abrasive powders can dull the surface, leave scratches, or discolor coated pans.
The safer approach is to stay with mild cleaner and soft tools unless the pan maker says a stronger product is allowed. If a cleaner is meant for deep restoration or heavy mineral removal, it may be too aggressive for routine maintenance.
Drafted with AI; not yet reviewed by a person.
2 thoughts on “How to Clean a Shower Pan Without Damaging the Finish”